Cross Processed Ektachrome
These pictures are part of a roll of film I shot for Expired Film Day. The film is Ektachrome 100 (EPN 120) that expired in 1991. I metered it for ISO50. I figured there was going to be significant colour shifts and so I had it cross processed in C41 chemistry. I was surprised to find only minor colour shifts. I think the next time I shoot this film, I will have it processed using E6 chemistry, as it was designed for.
This is the first time I have XPro’d a roll of film, and several things about it were unexpected, even though if I had thought about it, some might have been obvious. The biggest surprise was that the film came out as negatives and not the positives they would have been with E6 processing. How is it that I didn’t know that already?
The rest of the roll, with more gritty and colourful urban subjects, is posted as the 8th roll in my 2016 52Rolls project, Expired Film Day.


Click on any image below to launch larger versions in the gallery view, navigate with the arrows once in the gallery.
-

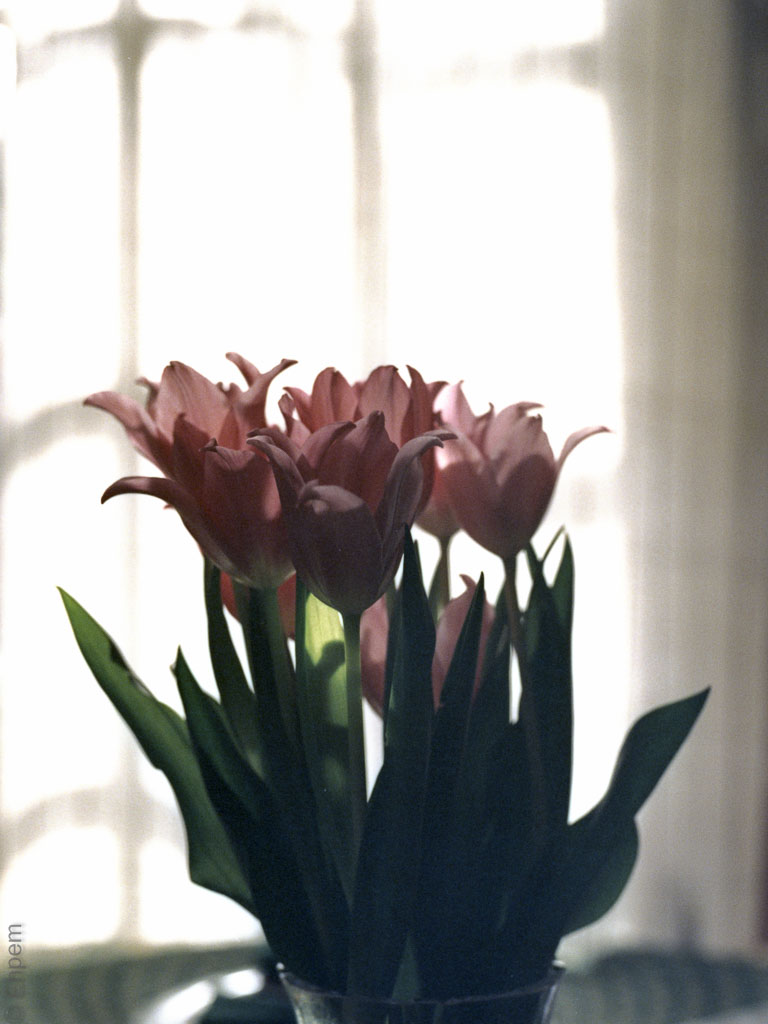
- Tulips
-

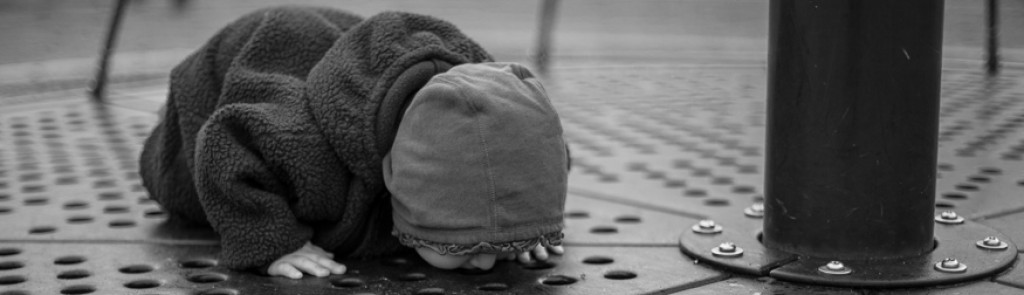
- Small white dog
-

- Ross Bay Cemetery
-

- Ocean edge of cemetery
-

- Blown plastic flowers caught in grave corner
-

- Christmas offering
-

- Fishing float, upper intertidal zone
-
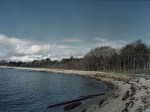
- Ross Bay, in front of Cemetery
.
.
Mamiya M645 Super, 80mm/f2.8 and 55mm/f2.8 lenses, ISO100 shot at ISO50,
Kodak Ektachrome 100 (EPN120) expired August 1991, cross processed commercially in C41 chemistry, scanned at home.
.
.


Do you trust your scanner to convert colour negatives to positives or do you do it using computer software? With old colour negs I take what the scanner produces as a first approximation and then beat them into shape with photoshop.
LikeLike
Hi Mario – it depends would be the best answer. For some kinds of film the scanner (Epson V700) and scanner software (Epson Scan) do a pretty good job of setting levels and compensating for the film’s colour tendencies. In those cases I will leave the initial settings that the software comes up, except I increase the levels of information at the dark and light ends that are captured and ensure that all of the histogram is included in the scan settings. I then tweak as needed in Lightroom (I don’t use photoshop).
For difficult images – ones that have significant colour shifts, very thin negatives and similar situations I reset all the defaults in Epson Scan to a totally neutral scan, make sure that the full range of darks and highlights are captured in the scan and scan that way. It produces a horrible flat and lifeless scan, often with strange tints. I then do major shifts in Lightroom. Fortunately, these can be easily synced with other similar images and tweaked as necessary. I find that this method can be faster than doing similar tweaks in Epson Scan prior to scanning. However, I find that if I let the scanner and its software do its magic with my adjustments that for most negatives I get better results. Scanning is a bit of a nightmare and by far my least favourite part of film photography. If I had the money, and ready access to a really good commercial lab, then I would have them do it all. It can take a couple hours to scan a roll of 35mm film not counting doing Lightroom adjustments.
LikeLike
Thanks, thats interesting. I find that most scans benefit from a touch of the unsharp mask filter whatever else you do to them. Val
LikeLike
That is a default on the Epson Scan software and I usually leave it be. If I am scanning to a very high resolution tiff anticipating quite a bit of post-processing then I will do the sharpening in post and turn this feature off in scanning.
LikeLike